Interested in improving your business with 3D technologies but don’t know where to start? Visit Top 3D Shop and check out our 3D scanner reviews!

The research group of NUST MISIS has developed a device for laser-ultrasonic diagnostics of materials with a resolution in the submillimeter range. The new development can find application in quality control of products of the mechanical engineering and aerospace sectors, including parts manufactured using additive technologies.
Small defects in metal and composite products subject to alternating stresses can easily develop into large cracks and eventually lead to the destruction of parts. This problem is especially relevant in the aircraft industry, where a violation of the integrity of the power elements can easily lead to a catastrophe with human casualties. Adds spice to the current trend of transition to products made using 3D printing. Giants such as Airbus and Boeing are actively experimenting with 3D-printed aircraft components, but at the same time, the issue of strength and resistance to mechanical fatigue of parts manufactured by selective laser sintering (SLS) and fused deposition (SLM) methods remains unresolved.
Obviously, to control the quality of such products, modern diagnostic tools are needed to find defective foci. One of the solutions should be the technology of laser-ultrasonic structuroscopy, developed under the guidance of Doctor of Physical and Mathematical Sciences, Professor Alexander Karabutov.
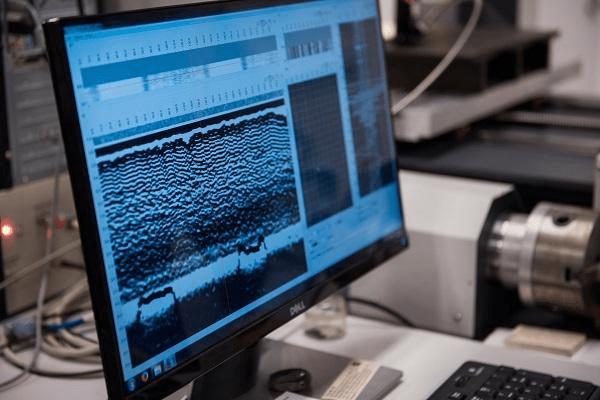
The laser-ultrasonic structurescope has an increased spatial resolution up to 50 microns with a penetrating power up to 40 mm. The device allows obtaining volumetric images of products and evaluating the mechanical characteristics and shape of defects. In particular, it becomes possible to detect delamination between successive layers of composite materials.
“Unlike traditional ultrasound, in laser-ultrasonic structuroscopy, a laser is used to create probe pulses, and ultra-wideband piezoelectric receivers are used to record echo signals. This makes it possible to increase the spatial resolution of ultrasonic testing by six to ten times, as well as its sensitivity, to obtain quantitative information about the state of the material - elastic moduli, porosity, stress states, to distinguish between hard and soft inhomogeneities. Measurements can be automated, which increases the reliability of control, ”explains Professor Karabutov.
A prototype of the new automated non-destructive testing system was successfully tested on the carbon fiber wing boxes of a passenger liner during stress tests. Small-scale production has already begun with the expectation of meeting the needs of the domestic aerospace industry.